How to Stop Your 3D Printer From Stringing

Thin plastic threads between parts of your 3D print can ruin its look and function. This issue, called stringing, affects many 3D printing enthusiasts. It's a common hurdle, but one you can overcome. We'll explain why stringing happens and how to prevent it. By adjusting your printer settings and applying some key techniques, you'll be able to produce cleaner, more precise models.
What Is Stringing in 3D Printing?

Stringing happens when thin lines of plastic form between parts of your 3D print that shouldn't be connected. These strings appear when the printer nozzle moves from one part of the print to another without printing. As it moves, it can leave behind small trails of melted plastic.
This often occurs because the plastic keeps flowing a bit even when the printer isn't meant to be putting down material. How much stringing you see depends on things like the printing temperature, how the printer pulls back the filament (retraction), and what kind of plastic you're using.
Stringing vs. Other Print Problems
It's helpful to know the difference between stringing and other common print issues:
Oozing:
Oozing is when extra plastic leaks out of the nozzle during printing. It's not just during the travel moves like with stringing. You might see small drops or extra bits of plastic on your print.
Blobbing:
Blobbing creates bigger drops of plastic on your print. It usually happens when too much plastic comes out or when it doesn't come out smoothly. You'll see larger, more noticeable bumps on the print surface.
How to Tell Them Apart:
- Stringing: Thin lines between separate parts of the print
- Oozing: Small bits of extra plastic that leak out during printing
- Blobbing: Larger drops or lumps of plastic on the print
To stop stringing, you'll mostly need to change how the printer moves and pulls back the filament. For oozing and blobbing, you might need to adjust the temperature or how much plastic comes out.
Main Causes of Stringing in 3D Printing
Wrong Temperature
The nozzle temperature affects stringing a lot. If it's too hot, the plastic gets too runny and strings easily. If it's too cool, the plastic might not stick well to your print. You need to find the right temperature for your filament to reduce stringing.
Print Speed Problems
How fast your printer moves matters. If it moves too quickly between parts, it can drag plastic strings along. But printing too slowly can let plastic ooze out and make strings too. You need to set the right print and printer travel speeds to avoid strings.
Bad Retraction Settings
Retraction is when the printer pulls the filament back a bit. This helps stop oozing. How far and how fast it pulls back, and how often it does this, all affect stringing. Getting these settings right for your printer and filament can really help.
Filament Type
Some types of plastic string more than others. For example, PETG often strings more than other materials. The quality of your filament matters too. Old or damp filament can cause more problems. Knowing your material helps you adjust other settings to reduce stringing.

Solution 1. Fixing 3D Printer Settings to Stop Stringing
Adjusting Temperature
Getting the right temperature is key to reducing stringing. Start by checking the recommended temperature range on your filament packaging. Then, print a temperature tower - a test print that uses different temperatures for each section. This helps you see which temperature works best for your filament. Look for the section with the least stringing and best overall quality.
Improving Retraction Settings
Retraction settings tell your printer when and how to pull back the filament. Try changing these settings:
- Retraction Distance: Start with 5mm and adjust up or down in 0.5mm steps.
- Retraction Speed: Begin at 40mm/s and change in 10mm/s increments.
Different materials need different settings. PLA might work well with shorter retractions, while PETG often needs longer ones.
Changing Travel Speed
How fast your printer moves when it's not printing can affect stringing. Try increasing your travel speed to reduce the time plastic can ooze out. Start at 150mm/s and go up or down from there.
If you still see stringing, try using Z-hop. This lifts the nozzle slightly when moving between parts, which can help prevent strings.
Better Cooling
Good cooling helps plastic set quickly, reducing stringing. Make sure your printer's cooling fan is working well. For most prints, set your fan speed to 100% after the first few layers. Some materials, like PETG, might need less cooling, around 50-70%.
You can also try increasing the minimum layer time in your slicer. This gives each layer more time to cool before the next one starts.
Solution 2. Filament-Related Fixes
Choosing Good Filament
The quality of your filament plays a big role in preventing stringing. Look for filament from reputable brands. Good filament has consistent diameter and fewer impurities, which helps reduce stringing. Some materials, like PLA, are less prone to stringing than others, like PETG or flexible filaments.
Storing Filament Properly
Moisture in filament can cause stringing and other print problems. Store your filament in airtight containers with silica gel packets. This keeps it dry and in good condition. For best results, use plastic boxes or bags designed for filament storage.
Drying Damp Filament
If your filament has absorbed moisture, dry it before printing. You can use a food dehydrator or an oven set to a low temperature (check your filament's recommended drying temperature). Dry PLA for about 4-6 hours, and other materials like PETG or Nylon for 6-8 hours. This can significantly improve print quality and reduce stringing.
Using Fresh Filament
Old filament can become brittle or absorb moisture over time, leading to more stringing. Try to use newer filament when possible. If you have old spools, print a test piece to check quality before using them for important projects.
Checking Filament Diameter
Inconsistent filament diameter can cause extrusion issues that lead to stringing. Use calipers to measure your filament at several points. If it varies a lot from the stated diameter (usually 1.75mm or 2.85mm), consider using a different spool.

Solution 3. Fine-Tuning Your Slicer Settings
Combing Mode
Combing mode tells your printer to move within already printed areas when possible. This can reduce stringing by keeping the nozzle over solid parts of your print. In your slicer, turn on combing and set it to "Within Infill" or "All" for best results.
Coasting and Wiping
Coasting stops pushing out plastic just before finishing a part. This reduces pressure in the nozzle and can help prevent stringing. Start with a small coasting volume, like 0.064 mm³, and adjust as needed.
Wiping makes the nozzle do a small move at the end of a part to clean off any excess plastic. Enable wiping in your slicer and start with a distance of about 0.5mm.
Minimum Layer Time
Setting a minimum layer time gives each layer more time to cool. This can help prevent stringing, especially on small or detailed prints. Try setting your minimum layer time to 10 seconds and adjust based on your results.
Solution 4. Maintaining and Upgrading Your Printer Hardware
Clean and Replace Nozzles
A dirty or worn nozzle can cause stringing. Clean your nozzle regularly with a brass brush while it's hot. If cleaning doesn't help, replace the nozzle. A new nozzle often prints better and strings less. Change your nozzle every few months if you print often.
Check Your Extruder
Make sure your extruder is working right. Calibrate it by marking 100mm of filament, extruding it, and measuring what's left. Adjust your e-steps if needed. Also, check for wear on the extruder gear and tighten any loose screws.
Consider a Direct Drive Upgrade
If you have a Bowden setup, switching to a direct drive extruder might help. Direct drive pushes filament more precisely, which can reduce stringing. It's especially helpful for flexible filaments. But remember, this is a big change and might not be necessary for everyone.
Fix Your Filament Path
Check that your filament moves smoothly from the spool to the extruder. Make sure there are no sharp bends or snags. Use a filament guide if needed. The filament should have just enough tension to feed smoothly without slipping.
Troubleshooting Persistent Stringing Issues
If stringing won't go away, try a step-by-step approach. Use a simple test print and change one setting at a time. This helps find the real cause of the problem.
Start with temperature. Print at different temperatures and write down what happens. Then try changing retraction settings and travel speed. Keep track of each change you make.
Common mistakes to watch out for:
- Room conditions: Make sure your printer is in a place without drafts or too much moisture.
- Bad filament: Even good settings won't fix problems from low-quality filament.
- Old firmware: Update your printer's software regularly.
- Skipping calibration: Always calibrate your printer properly.
If you're still stuck, ask for help online. 3D printing forums have many helpful people. Tell them your printer model, filament type, and what you've tried so far.
For really tough problems, you might need to talk to an expert. They can find issues you might miss and help fix them.
Each printer is different. What works for one might not work for another. Keep trying different solutions until you find what works for your printer.

Make Your 3D Prints String-Free!
Stringing doesn't have to ruin your 3D prints anymore. Start by fine-tuning your printer settings, focusing on temperature, retraction, and speed. Choose quality filament and store it correctly. Adjust your slicer settings and keep your printer in good condition. If problems continue, tackle them systematically and seek advice from other 3D printing enthusiasts. Since every printer behaves differently, be ready to experiment. Applying these strategies will lead to noticeably cleaner and more professional 3D prints.


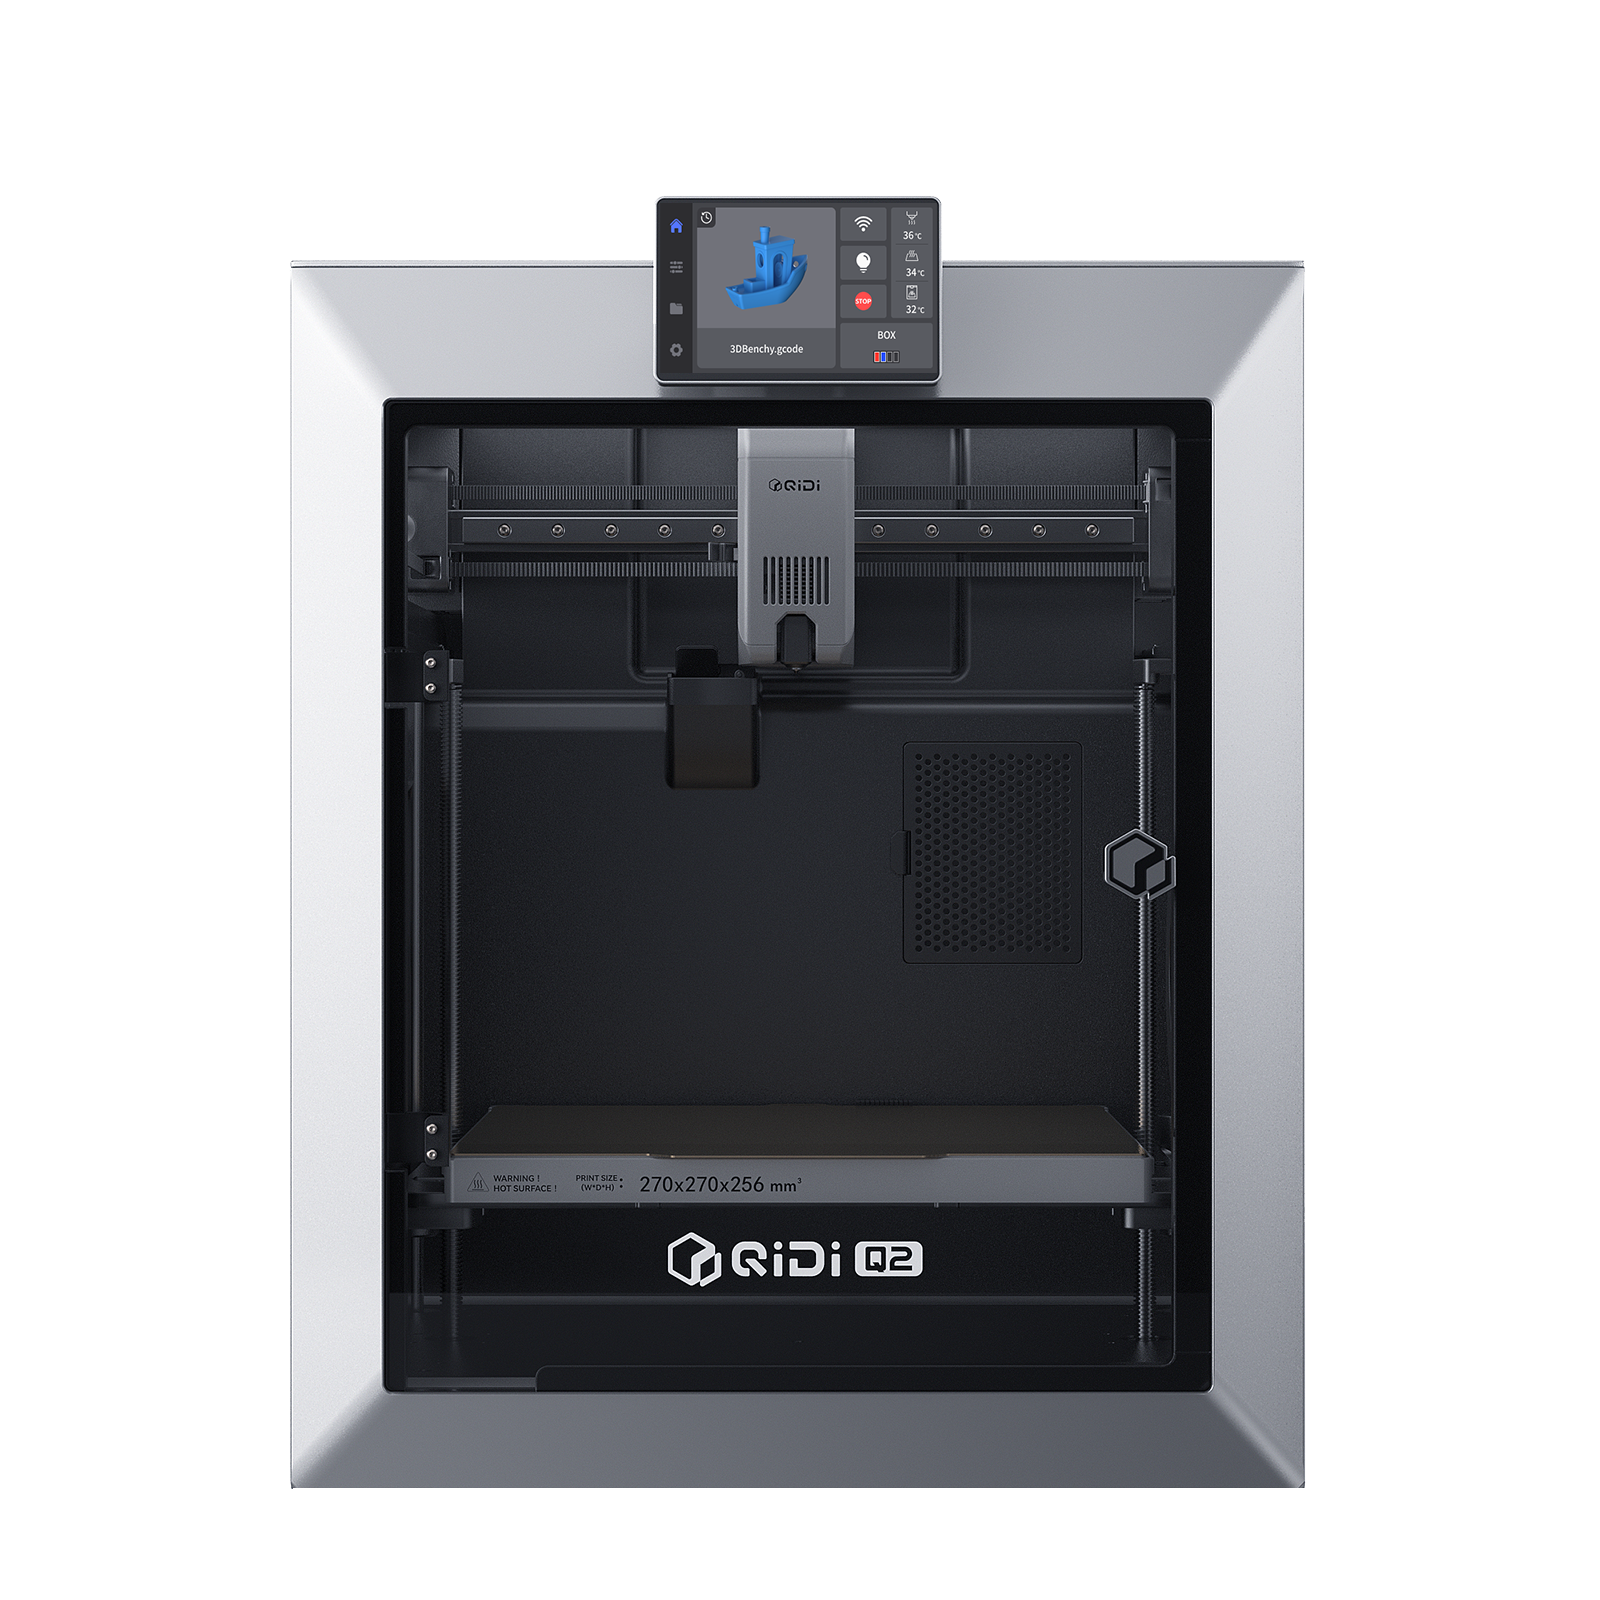 Q2
Q2
 Plus 4
 QIDI Box
 Q1 Pro
 X-Max 3
