3D Printing Bridging Explained: From Problem to Solution

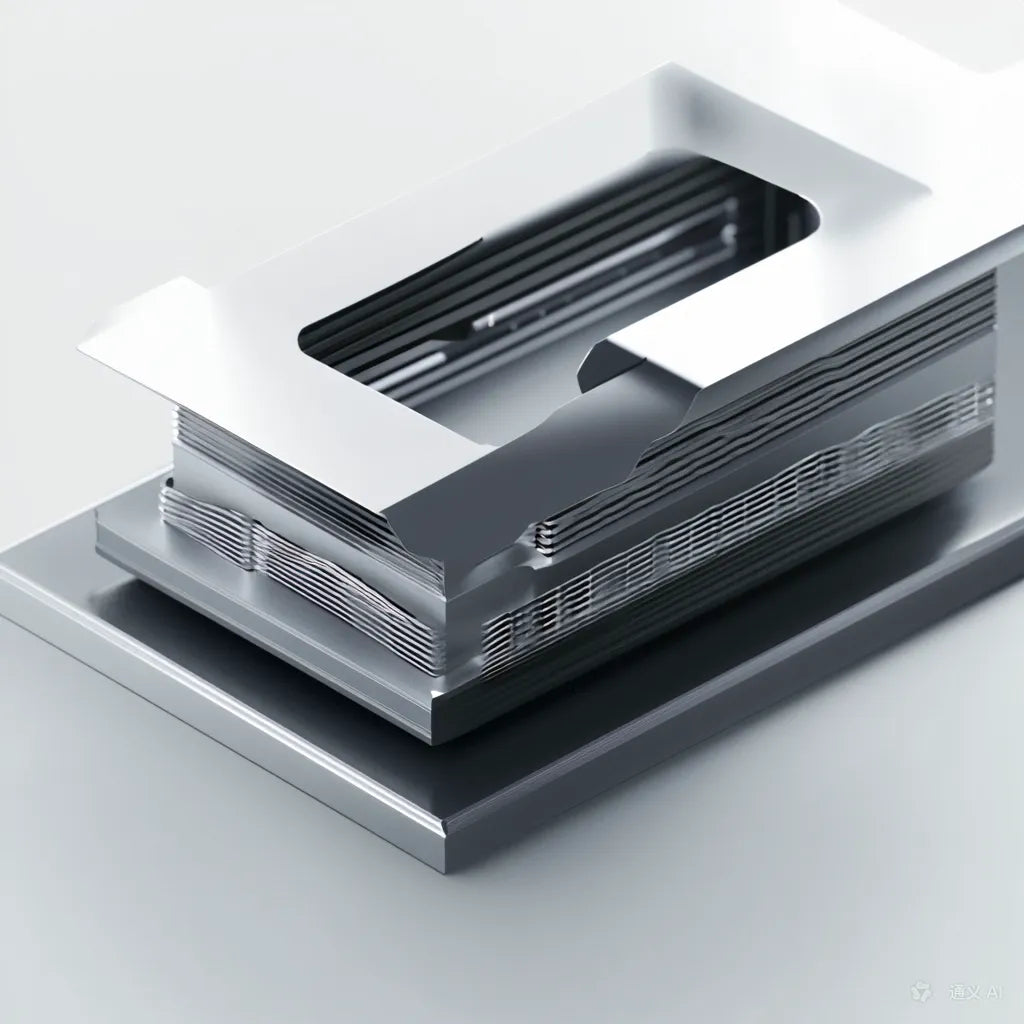
3D printing often involves the creation of parts that span gaps. This process, called bridging, can be quite tricky. When your printer tries to print across an empty space, the plastic might sag or not connect properly. This guide covers everything you need to know about bridging in 3D printing. We'll look at why it's important, how to do it well, and how to fix common problems. You will get helpful advice on how to enhance your prints, whether you are a novice or an expert user.
How Bridging Works in 3D Printing
Bridging in 3D printing refers to the creation of forms spanning gaps without using supports. It is quite a handy technique when trying to make complex designs and overhangs.
It does so by laying down plastic across an empty space between two points during the process of bridging. The trickier part is how to keep the plastic in shape as it crosses the gap.
It begins when the printer pushes out plastic in one edge of the gap. While this head crosses over an open space, it continuously extrudes the plastic. The extruded plastic cools down and hardens while being laid down. By the time it reaches the other side, it connects, hence forming the bridge. Then, the printer puts more and more layers on top to make the bridge more solid.
The only thing is that, for good bridging, the plastic has to be at exactly the right temperature: warm enough to stretch across the gap, cool enough to keep its shape. Getting that balance is what makes bridging so challenging and so useful in 3D printing. When well done, it allows you to make complex shapes without needing to remove supports later.

Three Common Bridging Problems
Generally, bridging is a challenge with 3D printing. Three of the most common problems that one may have while trying to make bridges are sagging, stringing, and gaps/inconsistencies. Each of these problems will have distinct causes and visual characteristics.
1. Sagging
If instead of keeping a straight line between the gap, the extruded material sags or bends downwards. This tends to be more pronounced with longer bridges or when printing with materials that cool down rather slowly. This may lead to a deformed final shape with lower structural integrity.
Visual signs of sagging include:
- A noticeable dip in the center of the bridge
- Uneven thickness across the bridged section
- Wavy or irregular lines in the bridged area
2. Stringing
Stringing is a problem where thin strings of plastic are visible between portions of the print that shouldn't be in contact with each other. During the process of stringing in bridging, there is a formation of a web-like structure across the gap. This is usually due to improper temperature during printing or inappropriate retraction settings.
Indicators of stringing include:
- Fine threads of plastic spanning the bridged area
- Wisps or cobweb-like formations in open spaces
- Excess material accumulating on the print surface
3. Gaps and Inconsistencies
Gaps and inconsistencies in bridging can manifest as spaces or irregular patterns in the printed material. Some of the causes that may cause these problems include poor extrusion, differential cooling, and mismatched print speeds. These gaps and inconsistencies seriously compromise the structural integrity of the bridge and the general look of the print.
Common signs of gaps and inconsistencies:
- Visible holes or spaces in the bridged section
- Irregular or uneven surface texture
- Inconsistent width or thickness across the bridge
These commonplace problems, in order for bridging to be realized, are normally overcome through adjusting various print settings and environmental factors. Proper identification of such issues is the first step toward improving the quality of the bridged sections in 3D printed objects.
Factors Influencing Bridging Quality
The quality of the bridging process depends on a set of variables. The most important among them include:
1. Material Properties
Different materials behave uniquely during bridging:
PLA (Polylactic Acid): Most of the time, it's easier to bridge with because of its relatively lower melting point. It solidifies rather fast, hence making it perfect for small bridges.
- Printing temperature: 190-220°C.
ABS (Acrylonitrile Butadiene Styrene): With a higher melting point and tendency to warp, this is more difficult to bridge. Higher temperatures and an enclosed printing environment are called for.
- Optimal printing temperature: 220-250°C.
PETG (Polyethylene Terephthalate Glycol): Happy middle of PLA and ABS, it does not warp as bad as ABS but it has a stringy result.
- Optimal printing temperature: 230-250°C.
2. Print Settings
Extrusion Temperature: Lower temperatures generally produce better bridges but may cause under-extrusion. Start with the lower end of the recommended temperature range for your material and adjust as needed.
Print Speed: Slower speeds (around 20-30 mm/s) often result in better bridging, allowing more time for the material to cool and solidify.
Cooling Fan Speed: Higher fan speeds improve bridging by quickly solidifying the extruded material. For PLA, use 100% fan speed. For ABS, start with 0% and gradually increase if needed.
Layer Height: Thinner layers (0.1-0.2 mm) typically produce stronger bridges due to less material weight.
3. Environmental Conditions
Ambient Temperature: Maintain a stable room temperature between 20-25°C for most materials. For ABS, a higher ambient temperature (around 30-35°C) in an enclosed space can prevent warping.
Humidity: Keep filaments in a dry environment. High humidity can cause inconsistent extrusion. Use a filament dryer if necessary.
Air Flow: Minimize drafts in the printing area to ensure even cooling. However, for larger bridges, a small fan directed at the print can help with cooling.
Armed with this knowledge, you're now better equipped to tackle bridging challenges in your 3D printing projects. Experiment with these factors to find the sweet spot for your specific setup and materials.
How to Adjust Your 3D Printer for Better Bridges
Bridging success often comes down to the fine details of your printer settings.
1. Slow Down Your Bridging Speed
Print speed is one factor affecting how bridges come out. If it is too fast, bridges might sag. If it is too slow, the plastic could get too hot.
With bridges, a good starting point is about 20-30 mm/s, and then faster or slower, depending on the appearance. In fact, most short bridges (less than 20mm) can actually be printed much faster, while longer ones need to be significantly slower.
2. Lower Your Nozzle Temperature
One of the most important variables when it comes to printing good bridges is temperature. You want the plastic to be hot enough to print well, but cool enough to hold its shape.
Take your plastic's temperature lower-end recommendation and start with that. For PLA, try starting at about 190° C. For PETG, use about 230° C. If you notice gaps or the layers aren't sticking too well, increase your temperature by about 5° C at a time.
3. Increase Your Cooling Fan Speed
Cooling helps in quick solidification of the plastic and hence avoids sagging.
In the case of PLA and PETG, the fan should be ON at maximum speed during the printing of bridges; for ABS it must be OFF during startup; this can be increased with time if required but with caution as that may result in layers not sticking properly.
4. Adjust Your Layer Height and Width
The height and width of each layer are factors in how bridges come out. Thinner layers tend to create stronger bridges but take more time to print.
Try layer heights between 0.1mm and 0.2mm for bridges. Thinner layers often sag less because they are lighter.
For layer width, try making your bridging extrusion width 10-20% wider than your nozzle size. This can be used to fill gaps and make stronger connections.
Advanced Strategies to Master 3D Printing Bridging
Now that we've covered the basics, let's look at some more advanced ways to handle tricky bridges. These methods can help you print more complex models.
1. Strategic Use of Supports
Consider the use of supports if they are longer than 50mm or steeper than 45 degrees. If your printer had two nozzles, you can try soluble supports. Removing them is more convenient, and finishing is smoother. However, supports require extra material and printing time, so only use them when really necessary. One should always try to print without supports. The step for optimization of Slicer settings will now be covered.
2. Optimizing Slicer Settings for Bridges
Most slicers will have bridging settings. First find the "bridge flow ratio" and set it to 80-90% of your normal flow rate. This prevents too much plastic from being used. Lastly, for most materials other than ABS, set the "bridge skin fan speed" to high. Some slicers will allow you to change the direction of the bridge lines. Experiment with different angles to see what works best for your model.

3. Redesigning for Better Bridges
Sometimes, bridging is easier if you just redesign your model. If there are long bridges, try adding small support pillars in your 3D model. That turns one long bridge into several shorter ones. Also, try rotating your model. A simple turn can change difficult overhangs into manageable bridges. If you are printing functional parts, add sloped edges or rounded corners to bridge edges. This can increase strength and improve appearance.
Solutions for Tricky Bridging Problems
Even under ideal conditions, you might experience weird bridging problems. The following are how to identify and eliminate difficult-to-eliminate problems.
Unusual Bridge Problems to Watch For
Beyond basic sagging or stringing, look for these less common problems:
- Accordion effect: The bridge has a wavy, uneven surface.
- Curling: The edges of the bridge lift or curl upwards.
- Brittle bridges: The bridge is prone to breaking or crumbling.
- Inconsistent extrusion: The bridge has alternating thick and thin sections.
Fixing a Wavy Bridge Surface
If your bridge has a wavy appearance check first that your belts aren't loose or your printer frame is shaking. Check that your cooling is even - you may need to reposition your fan. Sometimes printing bridges at 45° to the X or Y axis makes the surface better.
Stopping Bridge Edges from Curling
For curling edges increase bed temperature slightly for first few layers. Adding a brim to your print can help with adhesion as well. If you are printing with ABS, printing in an enclosure prevents drafts from causing curling.
Making Stronger Bridges
To make fragile bridges stronger, try upping the infill percentage in the areas that support the bridge. Very often, switching brands or types will work because some are simply stronger than others. PLA prints can be annealed post-print to increase strength, but this involves several extra steps.
Solving Uneven Bridge Thickness
If your bridge thickness is inconsistent, try cleaning your nozzle or replacing it if worn. Partial clogs in your hot end are also under consideration. It's also a good idea to perform an extruder step calibration and take filament diameter measurements at several points to confirm its uniform diameter.

Get Better at 3D Printing Bridges!
One of the most important techniques of 3D printing - bridging-will enable you to print more complex designs. This tutorial has given you an overview of how bridging works, the frequent problems that occur, and the ways to repair them. You can produce better bridges by modifying the settings for printing, by selecting the right material, and often by adjusting your design. If tougher problems appear, then apply the troubleshoot tips to overcome those. With practice, you will be able to print strong and smooth bridges, which then enables you to make more amazing 3D prints. Start incorporating these tips in your next print to feel the difference.


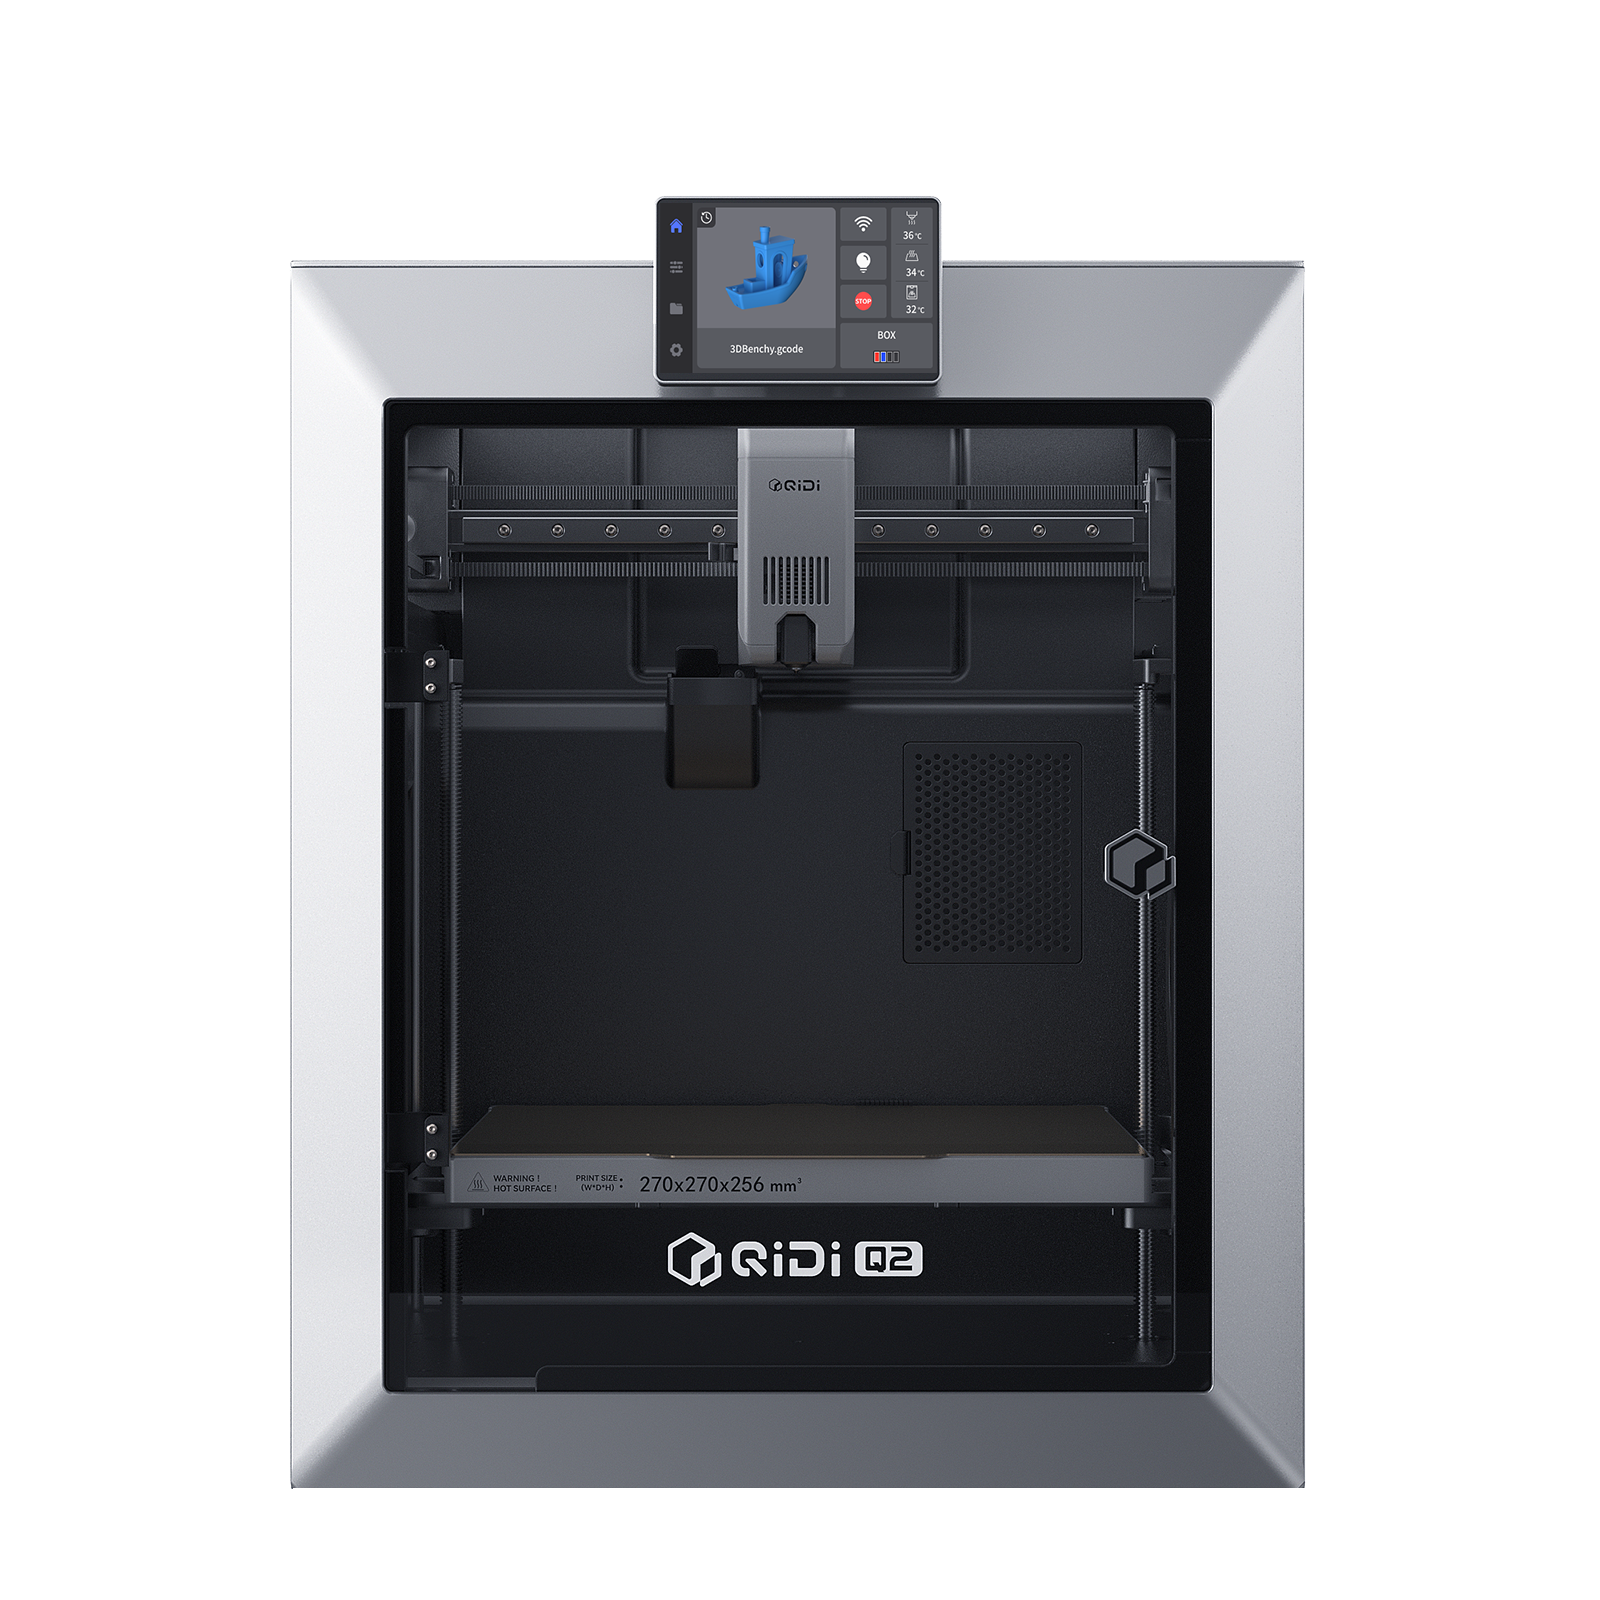 Q2
Q2
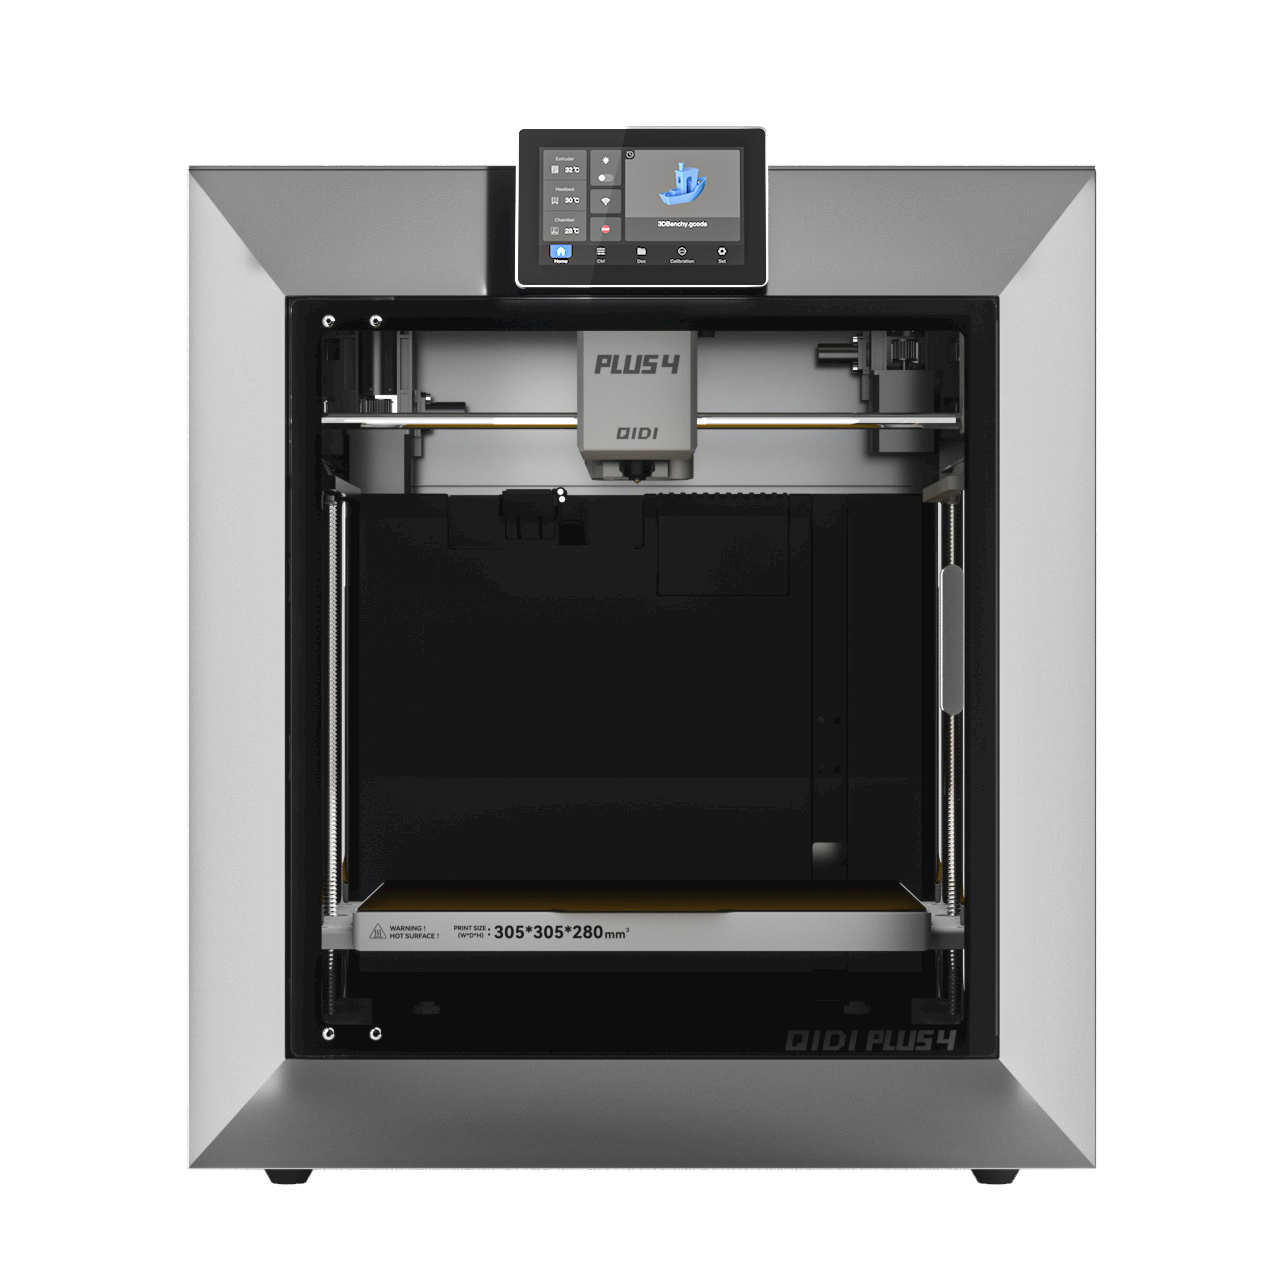 Plus 4
 QIDI Box
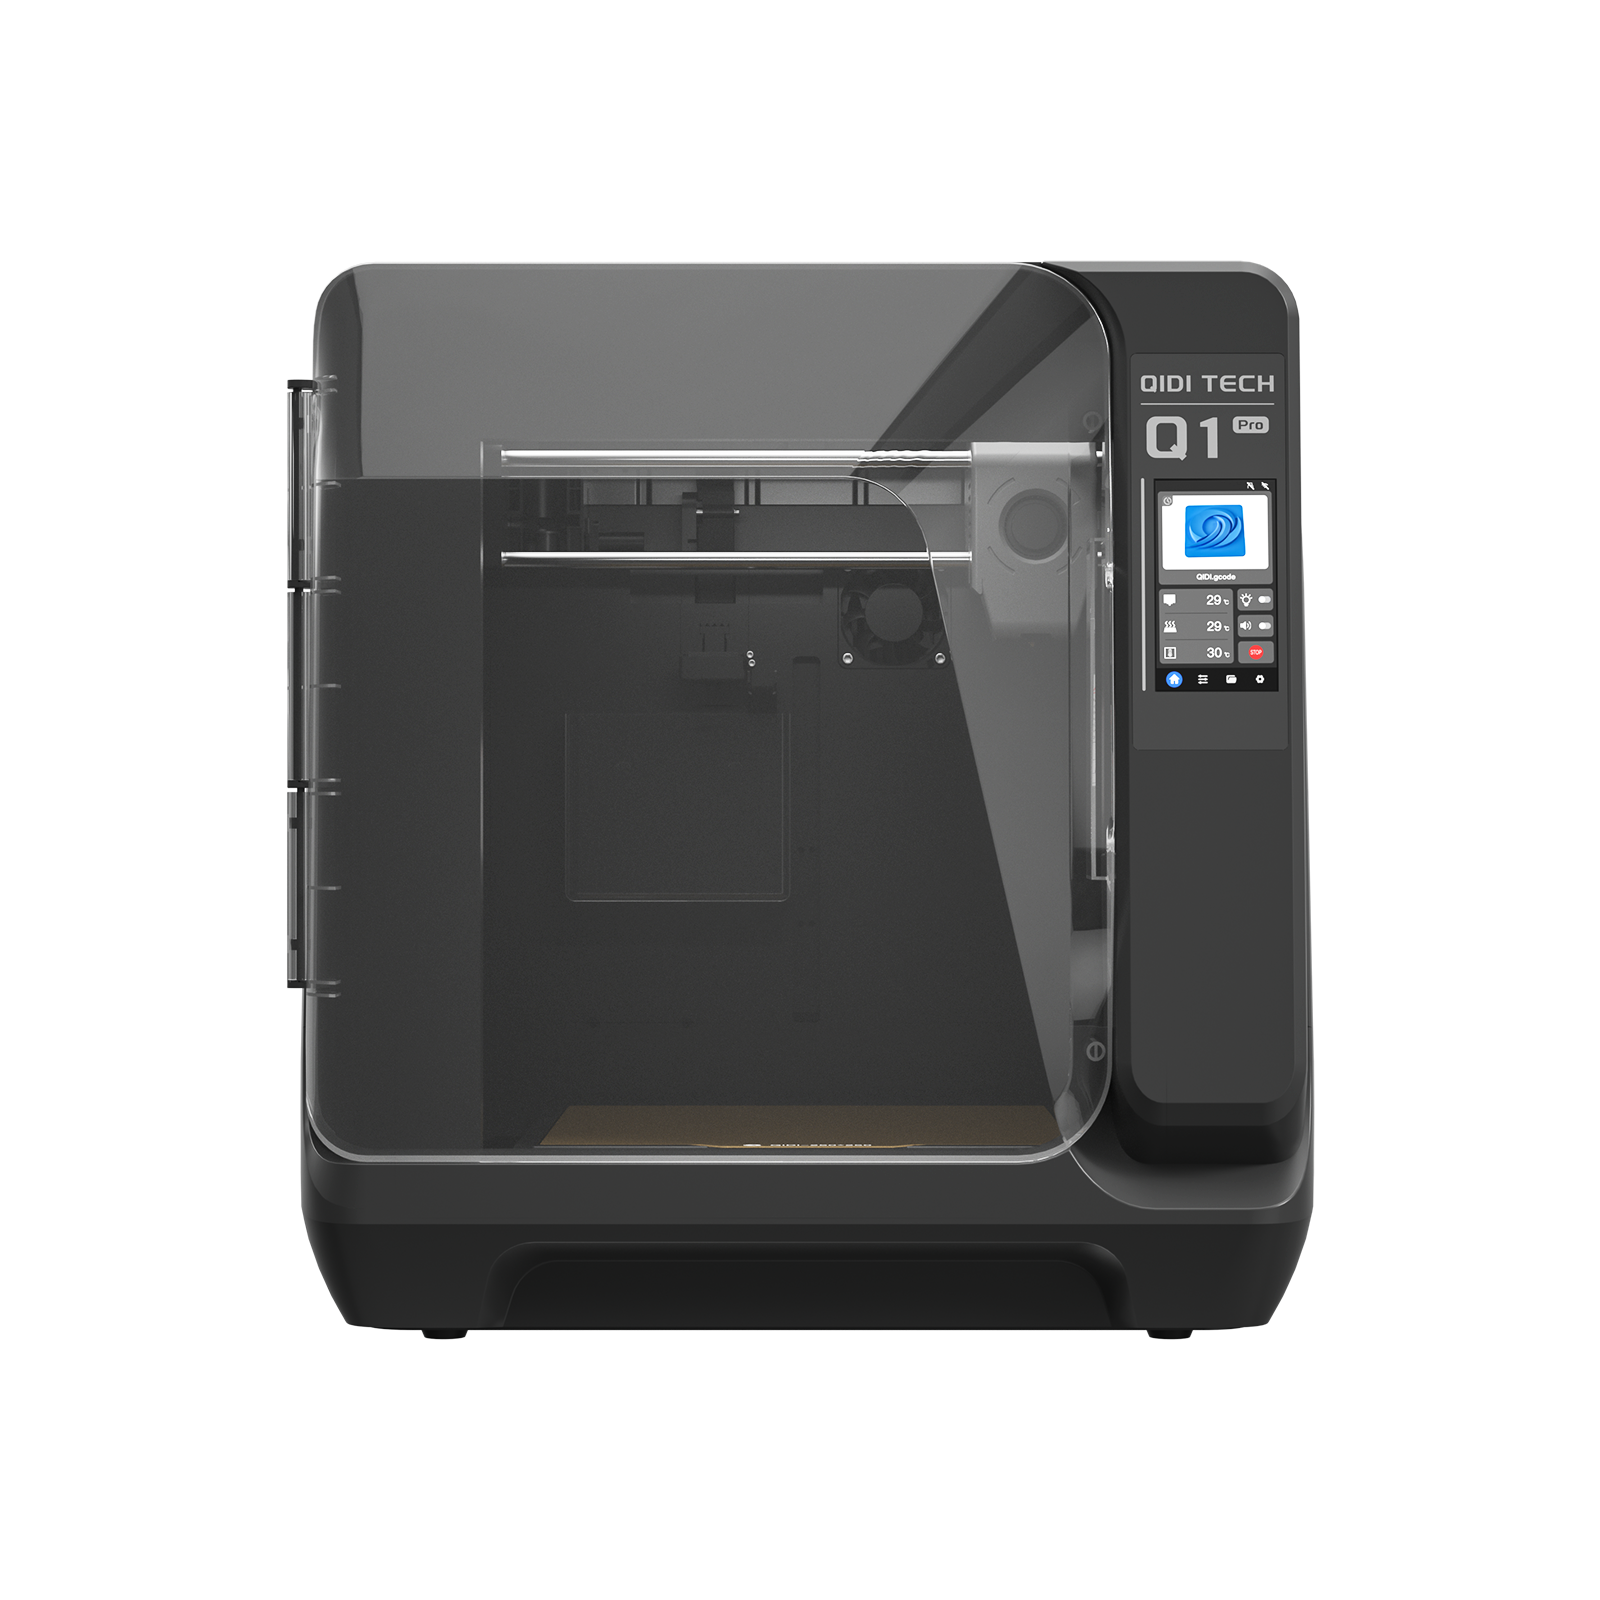 Q1 Pro
 X-Max 3
